Thursday, June 6, 2013

Gaming Mat part II

After letting the mat sit for 24 hours, I slapped a coat of Apple Barrel brown as the base coat. While wet, I shot it with spray paint, some kind if lighter brown. I originally wanted to use all spray paint on this but I was afraid, and probably wrongfully so, of the paint cracking.


Notice how much the dried caulk caused the canvas to shrink up and pull on the nails. Glad I nailed it down!

While the paint was still drying, I started flocking with a mix of dark green, light green, and earth flock all from Woodland Scenics. 


I also was spraying the crap out of everything with watered down pva as I went and gave it two more good soakings with the pva spray throughout the day. 

Tonight I cut it from the board and beheld my creation. It turned out just as all the other DIY folks said it would. Very durable and very little flock shedding. I'll leave you with a few shots. Hopefully I'll get the play on it this weekend!


http://farm8.staticflickr.com/7455/8975272830_94879878ba.jpg

New Gaming Mat part I

I'm sure everyone has seen some of the cool gaming mats that are on the market and that people have made themselves. Typically, I play in my dark creepy basement, which my wife hates. Since she's recently begun getting into playing the occasional game with me, I thought I'd be nice and try to come up with a solution for playing upstairs where she is more comfortable...and frankly so am I.

Enter the gaming mat.


I'm not breaking any new ground here. I've totally ripped this idea off from several others who've done this before. Basically, I started with a 5x5 canvas drop cloth that Home Depot sells for $6. While I was there, I picked up four tubes of Acrylic caulk (called ALEX caulking by DAP) for about $2 a tube and also a bag of play sand since I had run out. The table I want to play on is only 3'x4.5' but I went ahead and made this 4'x4'.


To start, I nailed the tarp down to the back of a 4x4 piece of wood.


Once it was down, I used an iron to get rid of all those folds. I was worried about the wrinkles but honestly I probably could have skipped this step as it laid out flat once the caulk was on it.

Next came the fun and messy part. I put on rubber gloves and squirted the caulk onto the canvas and smeared it around with my hands. I did this in small sections because the caulk formed a skin in about ten minutes. Once I had a section all smoothed out, I'd sprinkle play sand onto it and then grind it in. Here you can see that most of the board is covered except the last 1/5 which I was about to grind the sand into.


Here you can see the surface. 


PART II COMING


Thursday, February 21, 2013

Floating Rocks


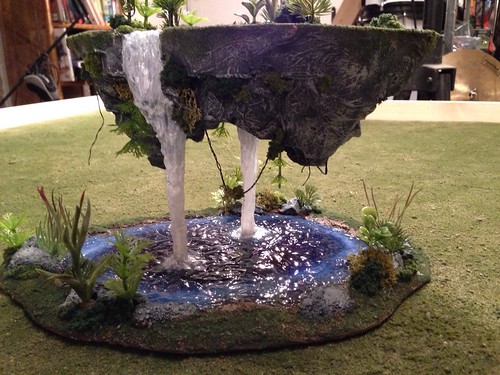
Inspired by some of the art work in the Legends of Chima advertising and cartoon, I decided I wanted to try making some floating rocks with a floating waterfall as the center piece. If you've never seen terranscapes pandoran themes board, do yourself a favor and take a look HERE

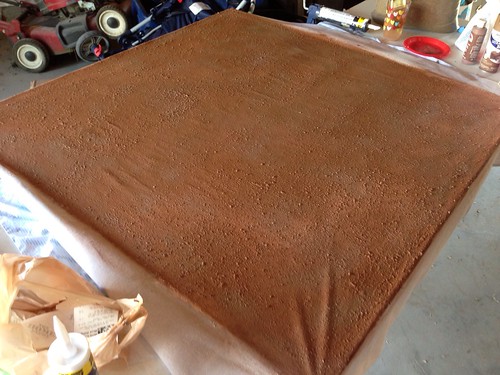
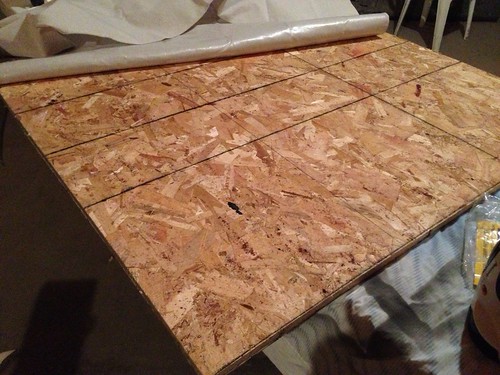
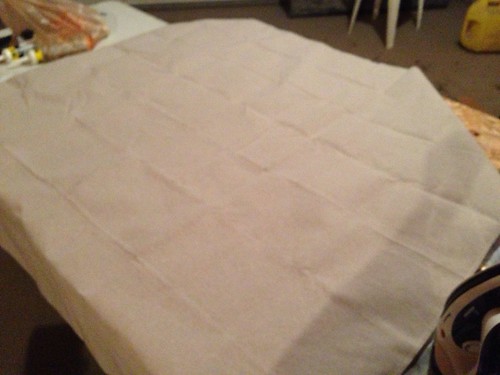
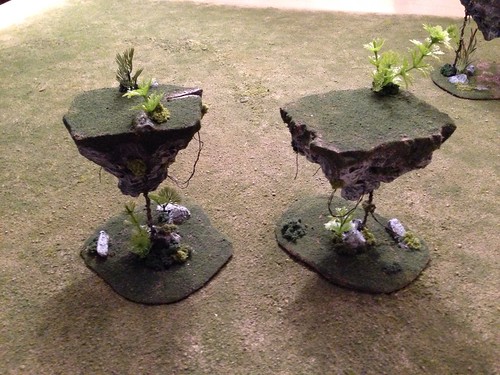
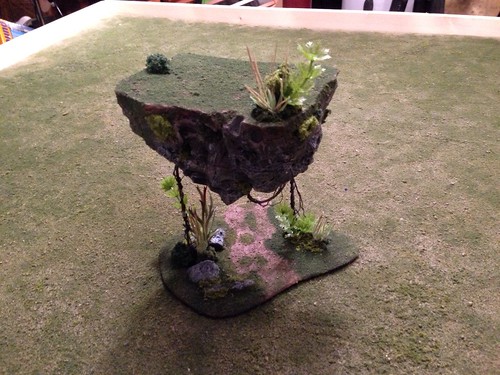
So with that as additional inspiration, I went to work. I started the same way I would make any rocks, but then I flipped them over. I cut up a bunch of pink foam and layered them from biggest to smallest. I then tried to disguise the seams with bits of scrap foam and then gave each piece a coat of joint compound. For the waterfall, I also used a lighter to burn and melt the small steams that lead to the falls - I just like this effect. Wire hangers (Yes mommy dearest) were dressed up as vines and used to to suspend the the three rocks. Sorry for the lack of wip pics, but I'm sure most of you know how to make rock from foam.


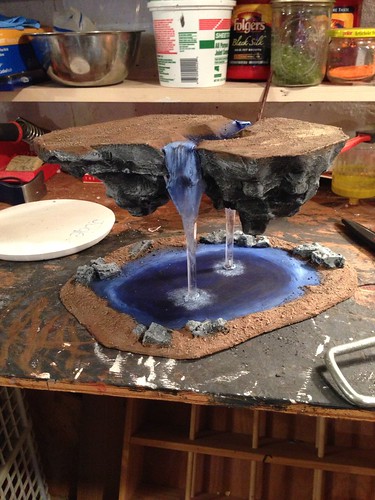
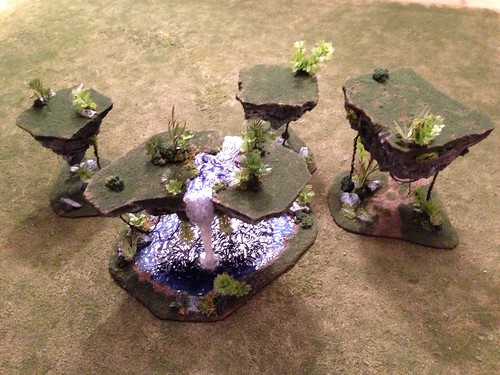
Since I wanted the waterfalls rock to be suspended by the water itself, I needed something sturdy. I went to the dollar store and bought a pair of plastic champaign glasses for, you guessed it, $1. I broke the stems off and hot glued them to the MDF base and to the bottom of the rock. For added strength, I broke off chunks from the remaining portions of the glasses and melted it over the edge of the falls.


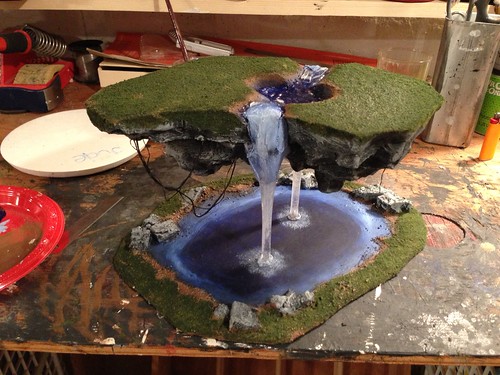
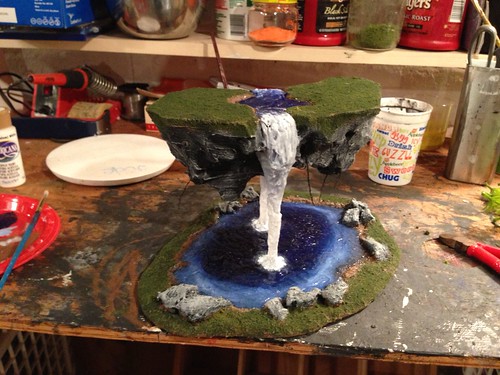
The water was then built up using DAP 3.0 crystal clear caulk smeared on witha popsicle stick. It took several layers to get this built up enough and frankly I'm not positive all the layers were 100% cured at the end. Anyway, I tried a different technique than I normally would have. Usually I paint the water color first and then caulk over it. It's a nice effect, and its what i did for the pond, but I wanted something different for the streams and falls. I painted the final layer of caulk blue and then wet blended white from the stream all the way down the waterfalls. The problem with that is that you lose your shine. To solve this, I covered the falls and streams in several layers of mod podge. Then added aquarium plants to everthing and slapped 'em on the table.


I'm calling these done...for now anyway. I feel like they need more vegetation. Would love to hear your opinion! They're studier than I expeced...especially the waterfall rock. There's no wiggle on that piece!