I'm sure everyone has seen some of the cool gaming mats that are on the market and that people have made themselves. Typically, I play in my dark creepy basement, which my wife hates. Since she's recently begun getting into playing the occasional game with me, I thought I'd be nice and try to come up with a solution for playing upstairs where she is more comfortable...and frankly so am I.
Enter the gaming mat.
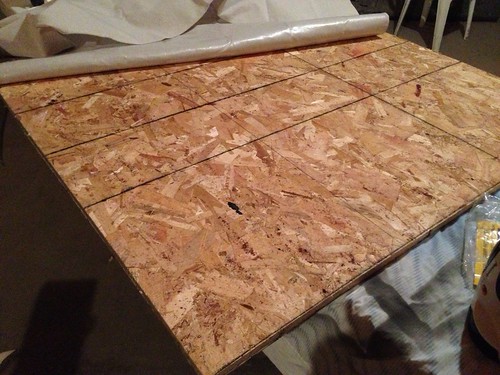
I'm not breaking any new ground here. I've totally ripped this idea off from several others who've done this before. Basically, I started with a 5x5 canvas drop cloth that Home Depot sells for $6. While I was there, I picked up four tubes of Acrylic caulk (called ALEX caulking by DAP) for about $2 a tube and also a bag of play sand since I had run out. The table I want to play on is only 3'x4.5' but I went ahead and made this 4'x4'.
To start, I nailed the tarp down to the back of a 4x4 piece of wood.
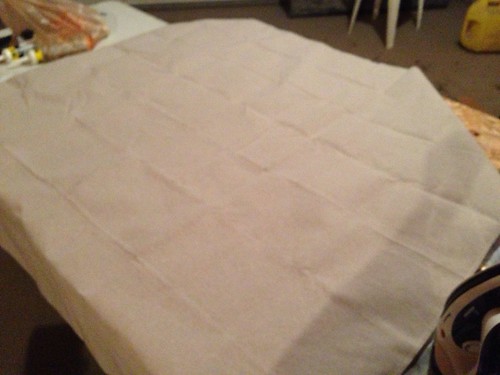
Once it was down, I used an iron to get rid of all those folds. I was worried about the wrinkles but honestly I probably could have skipped this step as it laid out flat once the caulk was on it.
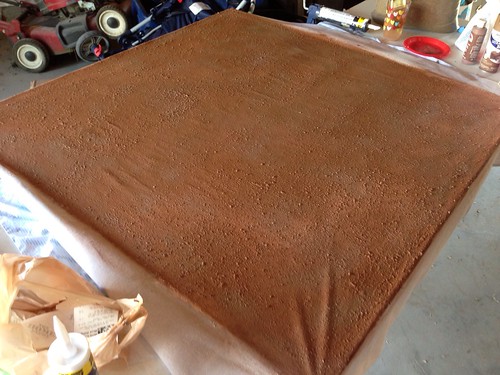
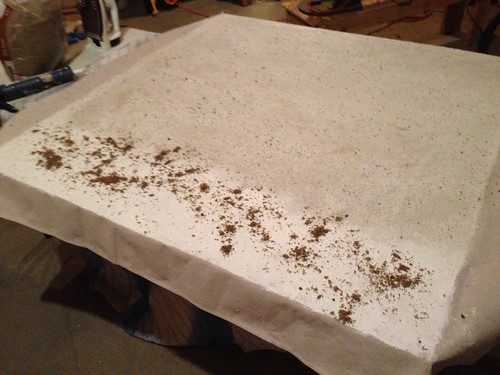
Next came the fun and messy part. I put on rubber gloves and squirted the caulk onto the canvas and smeared it around with my hands. I did this in small sections because the caulk formed a skin in about ten minutes. Once I had a section all smoothed out, I'd sprinkle play sand onto it and then grind it in. Here you can see that most of the board is covered except the last 1/5 which I was about to grind the sand into.
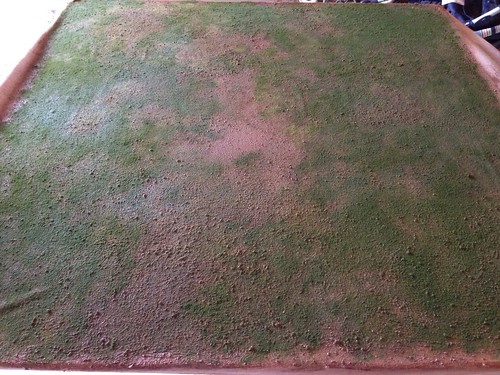
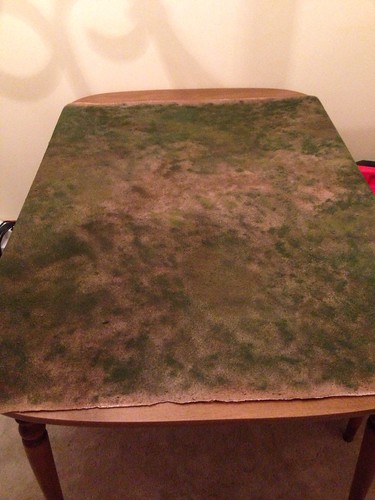
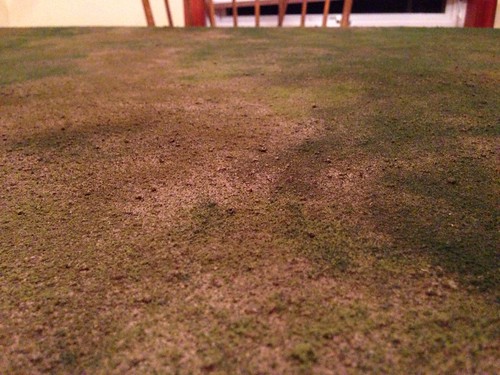
Here you can see the surface.
PART II COMING