Since getting into this hobby, I've wanted to make a dungeon terrain set. Time and a complete lack of willingness to learn how to cast good looking terrain has kept me away from it. Then Nick from Modest Magic (www.modestmagic.com) came along and made all of my wildest dreams come true. Yup. All of them. Well, at least my dreams of having an easy and good looking tabletop dungeon without breaking the bank or having my wife file for divorce because I spent 2 straight years in the basement making plaster squares. Enter the Modest Magic Dungeon Kit.
Before I get too in depth, I'd highly recommend taking a look at the Modest Magic YouTube channel. Nick has quite a few videos up explaining what he does and how his product works. Also, in the interest of full disclosure, I should note that Nick was kind enough to throw in 3 extra floor tiles because he was late sending out the terrain due to getting sick. I tried to talk him out of it, but he insisted. Yay for free stuff!
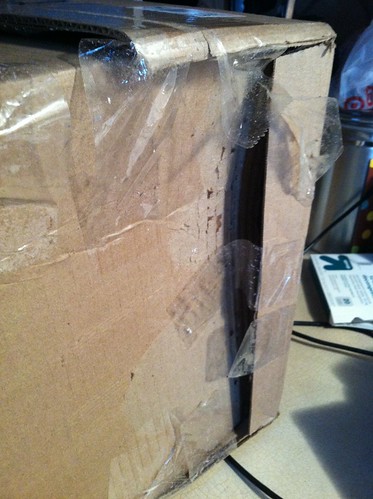
The package made it safely to me despite the Post Office trying very hard to destroy it.
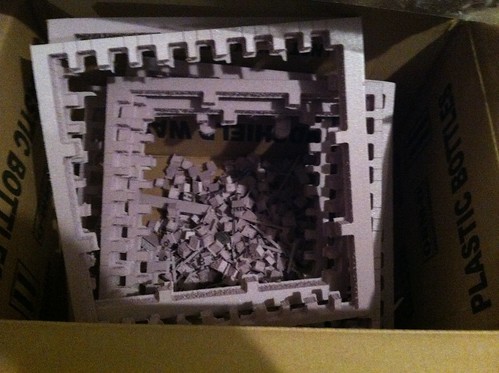
Exhibit A:
No worries. A quick look inside revealed that no major damage was done - I say major because one of the floor tiles had a bent corner that I was able to push back down.
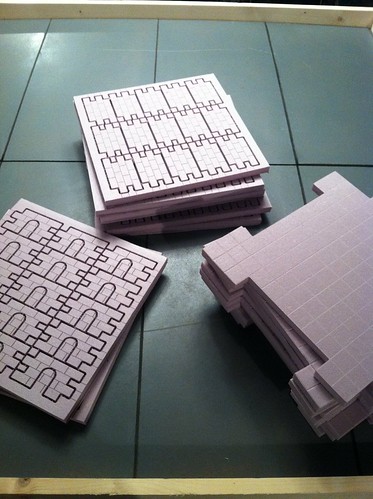
Here you can see the whole lot pulled out.
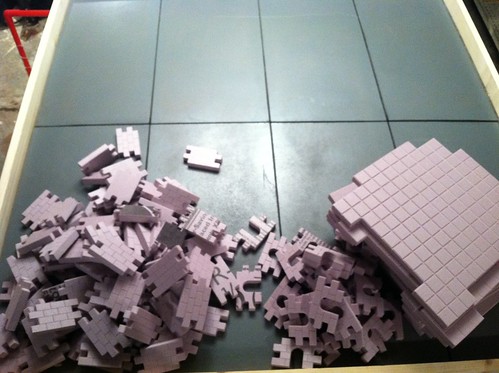
And here you can see them divided into three piles: 30 doors, 90 walls, and 9 floor tiles (or 12 in this case).
Punching the pieces out was a lot easier than I thought it would be. Nick has a helpful video on his channel showing you the best way to remove the pieces.
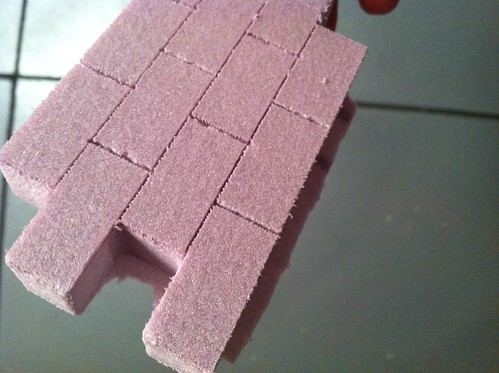
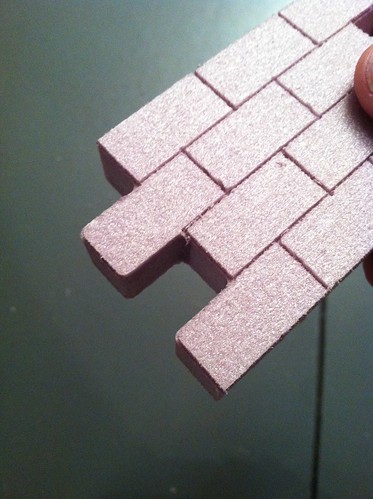
Here is a close up of a punched out wall. There is a little bit of flashing that needed to be removed from each piece but it all comes of just by running your thumb over it.
Here are my door and wall piles after de-sprueing all of it. This probably took me about 45 mins or so...or in gamer terms, this took about a beer and a half.
As a side note, there's a healthy portion of left over bits that'll come in handy after you pop all the pieces out.
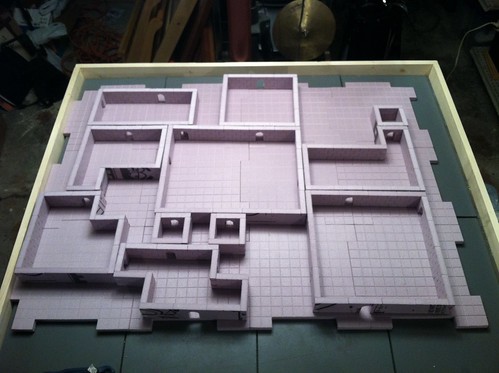
So here's what I ended up with after deliberating over room size. The walls and doors were glued with hot glue but nothing was glued to the floor tiles so that they can be moved around or used for other purposes later on.
Because I'm a wierdo and I game with Lego minifigs, I needed the rooms to be a bit larger than the average 28mm gamer. If I were using 28mm figs, most of the rooms would have been 3 or 4 wall sections max on any side. However, the biggest room here is 4 sections by 5 sections.
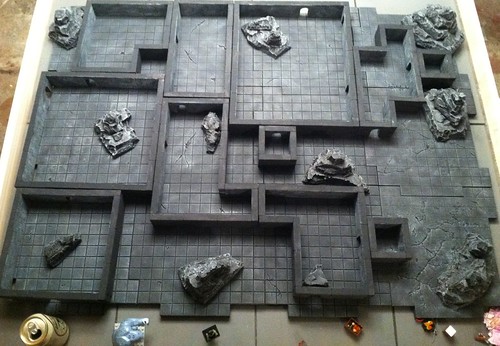
And here's the semi finished product. This is sans washes or flocking and it could definately use another layer of black on the tops and backsides of the rooms, but I was just too excited to slap it all together and get it posted. I threw in some BGW rocks in for good measure. (note the mad-delicious Yuengling beer can in the bottom left. Its how all terrain projects should begin)
You'll notice that some of the lines between floor tiles are noticable. I blame two things for this.
1) the reversable gaming tabletop that this is sitting on has a slight bow in the middle causing some of the tiles to pop up.
2) I'm a below average painter. I failed to get a consistant dry-brush coat over the entire grid which causes those spaces to be more noticable.
***While I'm super exicted about this kit, I would be remiss I did not point out the one problem I noticed - the lines in some of the floor tiles had inconsistent depths. Some tiles had really deep lines and some had very shallow lines. I'm assuming this is an issue with the material not being 100% consistently thick all the way through and is probably something that is near impossible to avoid. I would not let that turn anyone off though. It really didn't bother me. There was one tile that this was extremely noticeable on, so I beat it up and burned cracks into it to make it a feature rather than a flaw. You can see this tile as the far bottom right tile.*** (edit: Nick contacted me after this post explaining that the three tiles he gave for free where three test pieces that had inconsistent tile depths. This is not a problem on any other set.)
Final thoughts: this set is awesome....especially for the price tag. The pieces go together very easily and look great in my opinion! Even if Nick was a jerk, I'd still love this product. Thankfully, he's a terrific guy who is really excited about his company. I can not recommend this stuff enough.
All in all, this is a wonderful product and I give it two thumbs up!



No comments:
Post a Comment